
How to Use a PEX Crimping Tool: Step-by-Step Guide
Using a PEX crimping tool comes down to five things done in order: cut the tubing square, slide on the correct ring, insert the fitting fully, position the tool over the ring, and complete the crimp, then verify the connection before you cover it up. Get any one of those steps wrong and you can end up with a joint that looks fine but leaks weeks later.
This guide walks through the full procedure, how to cut the tubing correctly, how to check a finished crimp, what to do if a crimp fails, and the mistakes that cause most PEX leaks.
Key Takeaways
- A PEX crimp connection depends on five steps done in order: square cut, correct ring, full fitting insertion, centered tool, complete crimp cycle.
- A PEX crimping tool only works with copper crimp rings — it is not interchangeable with a cinch tool or an expansion tool.
- Always match tubing size, fitting, ring, and jaw size together before crimping; mismatched components are a leading cause of leaks.
- A go/no-go gauge checks the crimp’s dimension only — it does not replace a full system pressure test.
- Never crimp a partially inserted fitting, and never re-crimp over an already-compressed ring — remove it and start with a new one.
- PEX-A and PEX-B can both be crimped when the tubing, fitting, and ring are approved for that combination by their manufacturers.
- Pressure-test the finished connection before closing up any wall, floor, or ceiling.
How Do You Use a PEX Crimping Tool?
Shut off the water if you’re working on an existing line, then cut the PEX tubing squarely. Slide the correct-size crimp ring onto the tubing, insert the compatible fitting fully, and position the ring over the fitting’s crimp area. Center the correctly sized tool jaws over the ring and complete the crimp per the tool manufacturer’s instructions. Verify the connection with a go/no-go gauge if your system uses one, then pressure-test the line before closing up walls.
What Is a PEX Crimping Tool?
A PEX crimping tool is a hand tool (manual or battery-powered) that compresses a copper ring around PEX tubing and a barbed fitting, locking the tubing onto the fitting to form a watertight joint. The ring is what actually creates the seal, the tool’s job is to squeeze that ring down to the correct diameter, consistently and evenly.
The crimp tool has to match the ring and fitting system it’s being used with. A tool built for copper crimp rings won’t correctly compress a stainless-steel cinch clamp, and it isn’t a substitute for an expansion tool either. Regular pliers, channel-locks, or vise grips also won’t work — they don’t apply even pressure around the full circumference of the ring, which is exactly what a purpose-built crimp tool is engineered to do.
Tools You Need:
PEX tubing can be joined using more than one connection method, and they aren’t interchangeable. Confirm which system your fittings actually use before you buy or reach for a tool.
| Connection system | Hardware | Tool |
|---|---|---|
| PEX crimp | Copper crimp ring | PEX crimp tool |
| PEX cinch | Stainless-steel cinch clamp | Cinch tool |
| PEX expansion | Expansion fitting, no separate ring | Expansion tool |
| Push-to-connect | Push-fit fitting | No crimp tool needed |
A PEX crimping tool is not interchangeable with a cinch tool or an expansion tool. Before starting, verify compatibility between the tubing, the fitting, the ring or clamp, the tool, and the connection standard they’re all built to — and follow the fitting manufacturer’s instructions. Mixing components from different systems is one of the most common causes of a failed connection.
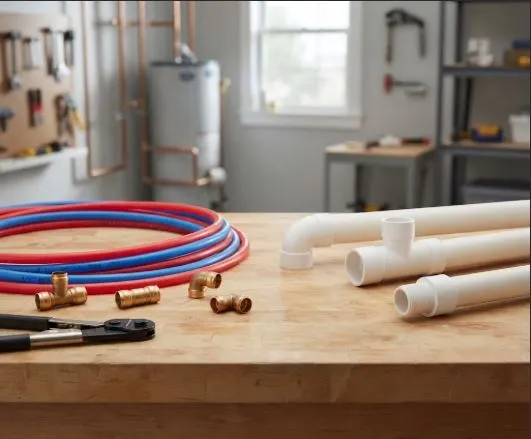
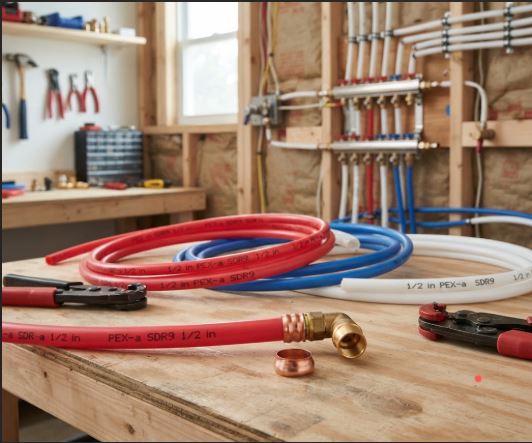
Tools and Materials You Need
- PEX tubing — cut to the length you need
- Compatible PEX fitting — rated for the crimp-ring system
- Correct-size crimp ring — matched to the tubing diameter and fitting
- PEX crimping tool — with the correctly sized jaw for that ring
- PEX tubing cutter — a scissor-style or ratchet-style cutter designed for PEX
- Go/No-Go gauge — required by most crimp-ring systems to verify the finished crimp
- Marker and tape measure — to mark cut length accurately
- Water shutoff access — needed for any repair on an existing line
- Pressure-testing setup — whatever method your system and local code call for, before concealing the work
How to Cut PEX Tubing Before Crimping
A clean, square cut is the foundation of a good crimp — an angled or crushed end keeps the fitting from seating fully, no matter how well you crimp afterward.
- Measure the length you need and add a little extra, since PEX tubing needs slack to expand and contract slightly in use.
- Mark the tubing clearly at the cut point.
- Straighten the tubing as much as practical — PEX often comes off a coil, and a curved section is harder to cut evenly.
- Use a purpose-designed PEX tubing cutter — a scissor-style cutter for smaller diameters or a ratchet-style cutter for larger tubing. Avoid hacksaws, utility knives, or improvised tools, since jagged or angled edges are hard to avoid with them.
- Keep the cutter perpendicular to the tubing and cut in one smooth, steady motion rather than sawing back and forth.
- Inspect the cut end for roundness and damage — it should be a clean circle, not ovaled, crushed, or angled.
Whether the tubing needs deburring or additional prep depends on the specific tubing and connection system you’re using — check the fitting manufacturer’s instructions rather than assuming every PEX system is prepared the same way copper is.
How to Use a PEX Crimping Tool: Step-by-Step

Step 1 — Shut Off the Water
If you’re repairing or modifying an existing pressurized line, shut off the water supply to that section before cutting anything. If you’re plumbing new construction that hasn’t been pressurized yet, this step doesn’t apply.
Step 2 — Cut the PEX Tubing Squarely
Follow the cutting process above. A square cut is what lets the fitting seat fully in the next step — don’t skip inspecting the cut end before moving on.
Step 3 — Slide the Correct Crimp Ring Onto the Tubing
Confirm the ring size matches both the tubing diameter and the connection system you’re using, then slide the ring onto the tubing before inserting the fitting — it has to be in place before the fitting goes in, not after. Leave it positioned loosely back from the end so it doesn’t interfere with fitting insertion.
Step 4 — Insert the PEX Fitting Fully
Push the tubing onto the fitting until it reaches the fitting’s shoulder or the insertion depth specified by the manufacturer. Don’t crimp a fitting that isn’t fully seated — a partially inserted fitting is one of the most common causes of an early leak, and it’s not something a gauge check will necessarily catch.
Step 5 — Position the Crimp Ring Correctly
Slide the ring into position over the fitting’s crimp area, following the fitting manufacturer’s specific instructions for exact placement. Ring position isn’t universal across every brand and fitting — the correct spot depends on the specific fitting’s design, so check the packaging or manufacturer documentation rather than assuming.
Step 6 — Position the Crimping Tool
Select the jaw size that matches your ring, open the tool fully, and center the jaws squarely around the ring. Keep the tool aligned so it compresses the ring evenly all the way around — crimping at an angle produces uneven compression and a weaker seal.
Step 7 — Complete the Crimp
Squeeze the tool through its full crimp cycle as designed. On a ratcheting tool, that means letting the ratchet run through completely until it releases on its own — don’t stop partway and assume the crimp is finished, and don’t try to force extra compression beyond what the tool is designed to apply.
Step 8 — Remove the Tool and Inspect the Connection
Open the jaws and remove the tool, then look at the ring. It should appear evenly compressed all the way around, sitting in the correct position, with no visible damage to the tubing underneath it and no sign the fitting shifted during crimping.
Step 9 — Check the Crimp With a Go/No-Go Gauge
A go/no-go gauge is a simple pass/fail check: it fits over the compressed ring and tells you whether the ring’s finished diameter falls within the tool manufacturer’s acceptable range. Follow the specific pass/fail procedure for your gauge and system. A go/no-go gauge checks the crimp’s dimension — it doesn’t replace a full system pressure test.
Step 10 — Pressure-Test Before Concealing the Plumbing
Before you close up a wall, ceiling, or floor cavity, pressure-test the completed system according to your local code and the manufacturer’s guidance. A visual inspection, a passed gauge check, and a pressure test are three separate checks — passing one doesn’t mean you can skip the others, and a leak found behind a finished wall is far more expensive than one caught here.
What Does a Proper PEX Crimp Look Like?
Correct PEX Crimp
A good connection shows a square tubing cut, a fitting fully inserted to its shoulder, a ring in the correct position, a crimp that was applied with the tool centered and square, and a ring that’s uniformly compressed around its full circumference. It passes the go/no-go gauge check specified for that system.
Signs of a Bad PEX Crimp
Watch for a ring that’s the wrong size for the tubing or fitting, uneven compression around the ring’s circumference, a ring sitting in the wrong position relative to the fitting, a fitting that wasn’t fully inserted before crimping, visibly damaged or deformed tubing near the joint, or a ring that fails the go/no-go gauge check. Any of these should be treated as a joint that needs to be redone, not one that’s “probably fine.”
What If the PEX Crimp Fails?
A failed gauge result means the ring’s compressed diameter is outside the acceptable range for that system — it should not be left in place and pressurized as-is. Don’t simply squeeze the tool again on top of an existing crimp; a ring that’s already been compressed is deformed, and a second pass doesn’t reliably correct an out-of-spec crimp.
Instead:
- Remove the ring using a dedicated crimp-removal tool or by carefully cutting it off without damaging the tubing.
- Inspect the tubing underneath — if it’s damaged, cut back to sound tubing before reconnecting.
- Replace the fitting if it shows damage or if it was pulled loose during removal.
- Start over with a new ring — crimp rings aren’t reusable once compressed.
- Follow the manufacturer’s correction procedure, since exact steps for redoing a joint vary by fitting brand and connection system.
Why Is My PEX Crimp Connection Leaking?
Immediate leaks (found right after installation or during pressure testing) are usually traced to one of these:
- Incorrect ring size for the tubing or fitting
- Incompatible components — tubing, fitting, and ring not approved for use together
- Fitting not fully inserted before crimping
- Ring positioned incorrectly on the fitting
- Improper or incomplete crimp — jaws misaligned, or the crimp cycle wasn’t completed
- Damaged tubing or fitting at the joint
- Worn or out-of-calibration tool
Leaks discovered later (weeks or months after installation) more often point to:
- A crimp that was within visual tolerance but marginal on the gauge check
- Tubing that was stressed or kinked near the joint after installation
- A connection installed outside the manufacturer’s approved system or instructions
Work through this in order: confirm the connection system and components were compatible, check whether the fitting was fully seated, inspect the ring’s position and compression, and re-verify with a go/no-go gauge. If everything checks out visually and on the gauge but the leak persists, the joint should be cut out and redone rather than patched.
Can You Crimp PEX Without a Crimping Tool?
No — a proper PEX crimp connection requires the appropriate crimping tool. Don’t substitute ordinary pliers, locking pliers, channel-locks, or any improvised tool. These can’t apply the even, full-circumference pressure a crimp ring needs, and a ring compressed unevenly is very likely to leak.
If you don’t have access to a crimp tool, the practical alternative isn’t to improvise a substitute tool — it’s to use a different connection method entirely, such as a compatible push-to-connect fitting, but only when that fitting is approved for your tubing and application. “No crimp tool” doesn’t mean “use whatever tool can squeeze the ring closed.”
Can You Crimp PEX-A or PEX-B?
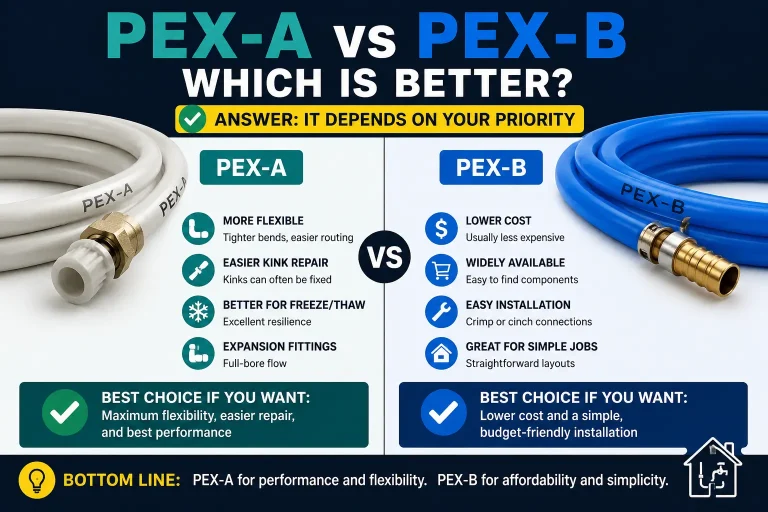
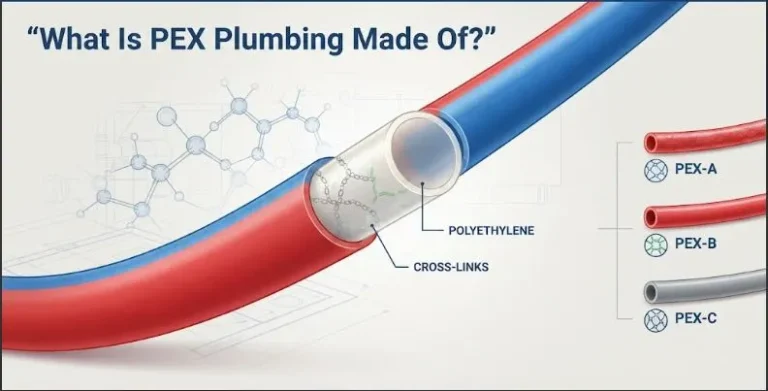
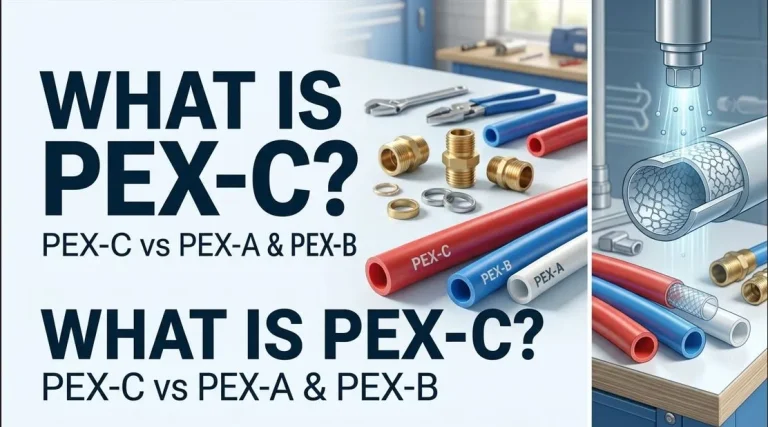
PEX tubing type (PEX-A, PEX-B, or PEX-C) describes how the tubing itself is manufactured — it’s a separate question from which connection method the tubing uses. Crimping isn’t ruled out by the tubing type on its own.
PEX-A is commonly paired with expansion fittings because its flexibility suits that system well, but PEX-A can also be used with crimp or cinch fittings when the tubing, fitting, and ring or clamp are all approved for that combination by their manufacturers. PEX-B is very commonly used with crimp and cinch systems in residential plumbing. In both cases, the deciding factor is manufacturer approval for that specific combination of tubing, fitting, and connection hardware — not the PEX letter designation by itself.
What Size PEX Crimp Tool Do You Need?
Match your tool or jaw to the tubing’s outside diameter. Common residential sizes are 3/8-inch, 1/2-inch, 3/4-inch, and 1-inch. The relationship runs in one direction: tubing size determines fitting and ring size, which determines the crimp jaw size you need — you can’t mix a jaw sized for one diameter with a ring or fitting sized for another.
Some crimp tools use interchangeable jaws that cover several sizes with one tool body; others are dedicated to a single size. If your project spans more than one tubing diameter, a multi-size or interchangeable-jaw tool saves you from buying several separate tools. Not every crimp tool fits every connection system, so confirm jaw compatibility with your specific fitting brand before buying.
PEX Crimp vs. Cinch: What’s the Difference?
| Feature | PEX Crimp | PEX Cinch |
|---|---|---|
| Hardware | Copper crimp ring | Stainless-steel cinch clamp |
| Tool | Crimp tool | Cinch tool |
| Verification | Go/no-go gauge (system-specific) | Visual/system-specific check |
| Reusability | Ring not reusable once compressed | Clamp not reusable once cinched |
| Best choice | Depends on your fittings and project | Depends on your fittings and project |
Neither system is universally better — the choice usually comes down to which fittings are already installed, or which system you’re set up to work with. If you’re still deciding which tool to buy, PlumbJournal’s guide to the best PEX crimping tools breaks down specific options for DIY and professional use.
10 Common PEX Crimping Mistakes to Avoid
- Using the wrong connection system — crimping a fitting designed for cinch clamps, or attempting to crimp an expansion-style fitting. Confirm the system before you start.
- Using the wrong ring size — always match the ring to the tubing diameter and fitting, never estimate.
- Using the wrong jaw size — a jaw sized for a different diameter won’t compress the ring correctly, even if it technically fits around it.
- Cutting the tubing unevenly — an angled or crushed cut keeps the fitting from seating fully. Recut if the end isn’t clean and square.
- Failing to insert the fitting fully — push the tubing all the way to the fitting’s shoulder before crimping, every time.
- Positioning the ring incorrectly — follow the fitting manufacturer’s specified ring placement rather than guessing.
- Holding the tool incorrectly — keep the jaws centered and square around the ring; an angled crimp compresses unevenly.
- Using damaged or poorly maintained tools — worn jaws or an uncalibrated tool can produce a ring that looks fine but is out of spec.
- Skipping the specified verification method — always check the finished crimp with a go/no-go gauge when your system calls for one.
- Closing walls before pressure testing — the most expensive mistake on this list, since a leak behind a finished wall costs far more to fix than one caught beforehand.
PEX Crimping Safety and Installation Tips
- Shut off the water before working on any existing pressurized line.
- Inspect tubing for damage before making a connection.
- Use tools designed specifically for PEX crimping — not improvised substitutes.
- Follow the fitting and tool manufacturer’s instructions for ring position and verification procedure.
- Use only components approved for use together by their manufacturers.
- Pressure-test the system before concealing any plumbing behind walls, floors, or ceilings.
- Follow your local plumbing code, and involve a licensed plumber or inspector where your jurisdiction requires it. This guide explains general procedure — it isn’t a substitute for local code requirements or a professional inspection where one is required.