How to Cut PEX Pipe: Step-by-Step Guide for a Clean, Square Cut
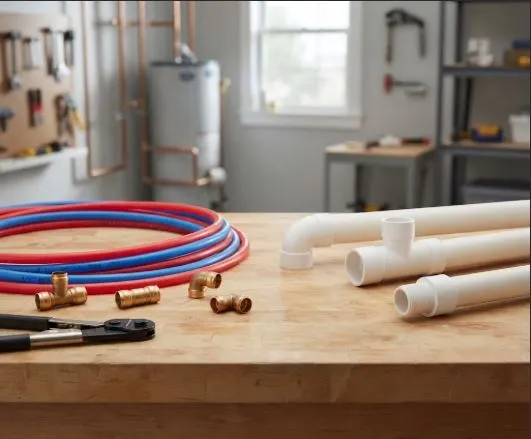
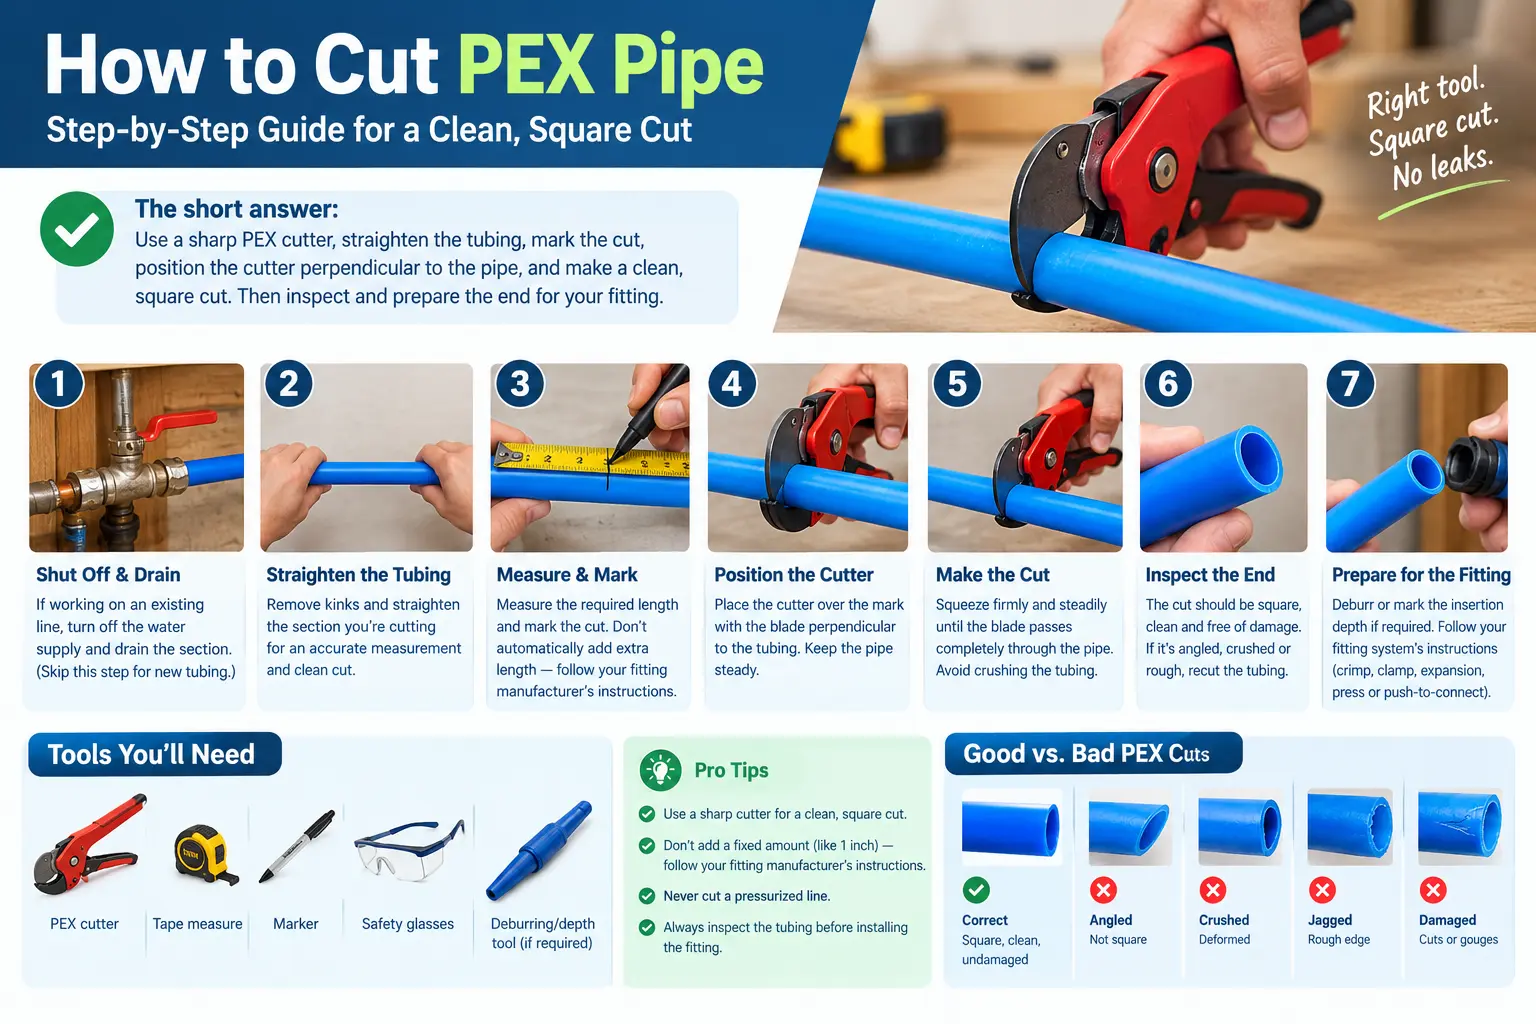
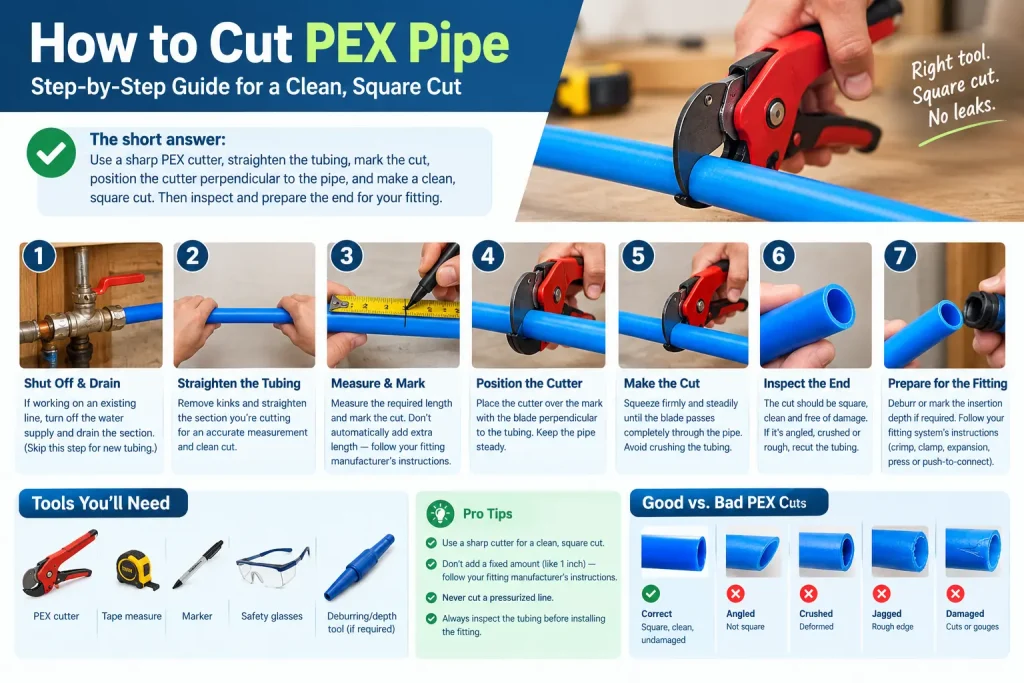
Cutting PEX pipe is simple when you use the right cutter and make a clean, square cut. For most residential plumbing jobs, you need a sharp PEX cutter, a tape measure, and a marker. Straighten the tubing, mark the cut, position the cutter perpendicular to the pipe, and squeeze until the blade passes completely through.
The important part is what happens after the cut. A crushed, angled, or damaged PEX end can cause problems when you connect a fitting. The required preparation can also vary depending on whether you’re using a crimp, clamp, expansion, press, or push-to-connect system.
What You Need to Cut PEX Pipe
For a typical PEX plumbing project, gather:
- Sharp PEX pipe cutter
- Tape measure
- Marker or pencil
- Safety glasses
- Appropriate fitting and connection tools
- Deburring or depth-marking tool if required by your fitting system
A scissor-style PEX cutter is convenient for common residential tubing. A ratcheting cutter provides more leverage and can be useful when cutting larger tubing or making many cuts. Major home-improvement guides also recommend dedicated scissor-style or ratchet-style PEX cutters for PEX tubing.
How to Cut PEX Pipe
1. Shut Off the Water if You’re Cutting an Existing Line
If you’re modifying an existing plumbing line, shut off the water supply before cutting.
Open an appropriate faucet or fixture to relieve pressure and drain the section you’re working on. Never cut into a pressurized water line just because PEX is flexible.
If you’re working with new tubing that has not been connected to the water supply, you can move directly to measuring and cutting.
2. Straighten the PEX Tubing
PEX is often sold in coils, so the tubing may have a noticeable curve.
Straighten the section you plan to cut as much as practical. This makes measuring easier and helps you position the cutter perpendicular to the tubing.
You don’t need to make the entire coil perfectly straight. Just make sure the section around your measurement point is stable enough to cut accurately.
3. Measure and Mark the Cut
Measure the length you actually need and mark the tubing clearly.
Don’t automatically add a fixed amount such as one inch to every PEX cut. The required finished length depends on the plumbing layout, fitting system, insertion requirements, and manufacturer’s instructions.
This matters because different PEX connection systems have different installation requirements.
For example, a SharkBite crimp connection requires the tubing to be pushed onto the barbed fitting to the fitting shoulder, while its push-to-connect systems use a specified insertion depth.
4. Position the PEX Cutter
Place the cutter directly over your mark.
The blade should be perpendicular to the length of the tubing. Avoid starting the cut at an angle because an angled end can interfere with a proper fitting connection.
Hold the tubing steady while positioning the cutter.
5. Make the Cut
Squeeze the cutter firmly and steadily until the blade passes completely through the PEX.
A sharp cutter should make a relatively clean cut without excessive force.
Don’t crush the tubing by repeatedly squeezing a dull blade. If the cutter is struggling, inspect the blade and replace or sharpen the tool as appropriate.
For PEX, a dedicated cutter is preferable to a saw because the goal is a clean, square end. SharkBite specifically instructs users of its PEX Press system to use a PEX cutter and warns that uneven or angled cuts can result in improper connections.
6. Inspect the Cut End
Before installing the fitting, look closely at the cut.
A good PEX cut should be:
- Square and perpendicular to the tubing
- Clean
- Free of major deformation
- Free of cuts, gouges, or other sidewall damage
- Suitable for the fitting system you’re using
If the tubing is crushed, badly angled, or damaged near the end, cut it back to an undamaged section rather than trying to force a fitting onto it.
What Does a Good PEX Cut Look Like?
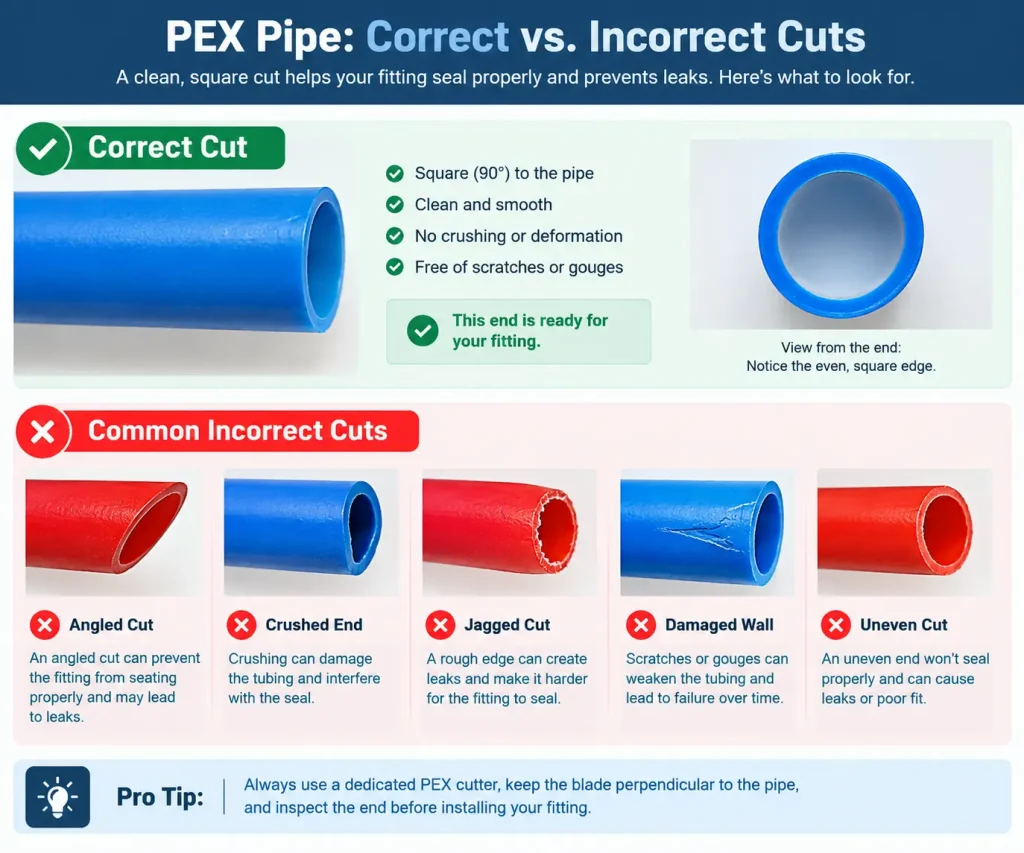
A good cut is approximately 90 degrees to the length of the tubing.
Good cut: clean and square.
Bad cut: angled, crushed, jagged, or damaged.
This small detail matters because the fitting needs a properly prepared tube end to make the intended connection. SharkBite’s installation guidance, for example, calls for a square cut and inspection for damage before connection.
If your cut looks more like a diagonal slice than a straight cross-section, recut it.
Do You Need to Deburr PEX After Cutting?
There isn’t one universal deburring rule for every PEX connection.
Follow the installation instructions for the specific fitting you’re using.
Some connection systems require the tubing end to be free from burrs, debris, or damage before installation. For example, SharkBite’s PEX Press instructions call for a square, clean cut and a tubing end free of burrs, debris, and damage.
Other fitting systems have their own preparation procedures, including insertion-depth marking or a tube stiffener.
So rather than assuming that every PEX connection is prepared exactly the same way, identify the fitting first and follow its manufacturer’s instructions.
Which Tool Is Best for Cutting PEX?
For most residential plumbing work, a dedicated PEX cutter is the easiest option.
| Cutter | Best for | Notes |
|---|---|---|
| Scissor-style PEX cutter | General residential work | Simple and inexpensive |
| Ratcheting PEX cutter | Larger tubing or repeated cuts | Provides more leverage |
| Utility knife | Emergency situations | Difficult to produce a consistently square connection-ready cut |
| Hacksaw | Not recommended for normal PEX connections | Can leave a rough or uneven end |
A utility knife may physically cut through PEX, but that doesn’t make it the best installation method. A dedicated cutter gives you much better control over the square end needed for a reliable fitting connection. Angi also notes that a utility knife is not ideal because it can produce angled cuts.
Can You Cut PEX With a Hacksaw?
It’s better to use a dedicated PEX cutter.
A hacksaw can cut through plastic tubing, but it isn’t designed to give you the same controlled, square cut as a PEX tubing cutter. For connection work, an uneven or damaged end can create unnecessary problems.
If you accidentally make a rough cut, don’t try to clean it up by repeatedly trimming the edge with a knife. Move the cut point back and make a fresh square cut with the proper cutter.
Does PEX-A or PEX-B Need to Be Cut Differently?
The basic cutting technique is the same for PEX-A and PEX-B:
Measure → mark → cut squarely → inspect the tubing end.
The bigger difference is the connection method used after cutting.
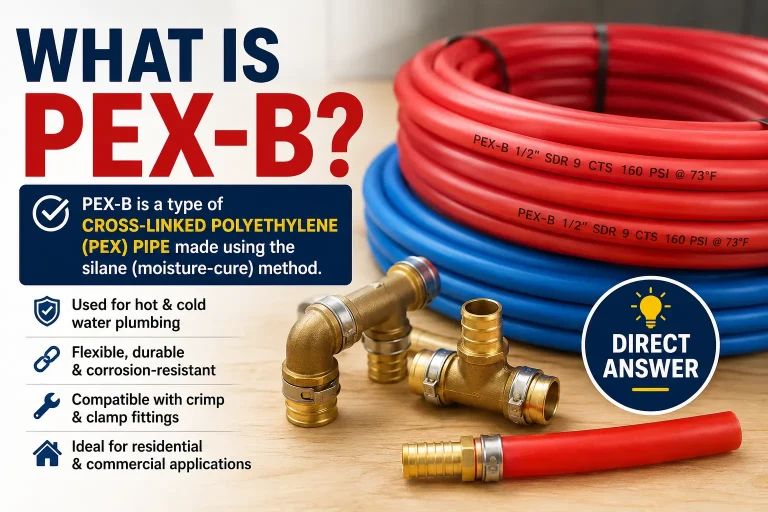
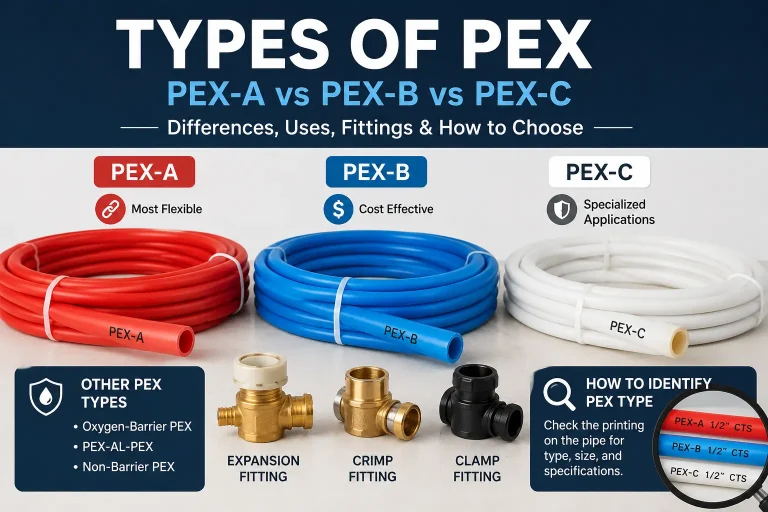
PEX-A is commonly used with expansion-style systems such as ASTM F1960 connections, while PEX-B is commonly used with crimp or clamp connections. However, the actual fitting and manufacturer’s instructions should determine how the tubing is prepared and connected.
If you need help understanding the difference between the two materials, see our guide to PEX-A vs. PEX-B.
How to Cut PEX for a Crimp Fitting
For a traditional PEX crimp connection:
- Measure and mark the required tubing length.
- Make a square cut with a PEX cutter.
- Slide the correct crimp ring onto the tubing.
- Push the tubing fully onto the barbed fitting.
- Position the ring correctly over the fitting barbs.
- Crimp the ring with the appropriate crimp tool.
- Check the finished connection with the required gauge.
SharkBite’s PEX installation instructions similarly specify a square cut before making a crimp/barb connection and recommend checking the completed crimp with a go/no-go gauge.
For a more detailed walkthrough, see our guide on how to crimp PEX.
How to Cut PEX for a Push-to-Connect Fitting
Push-to-connect fittings require extra attention to the tubing end because the pipe must seat properly inside the fitting.
The general process is:
- Cut the PEX squarely.
- Inspect the end for damage or debris.
- Follow the fitting manufacturer’s preparation instructions.
- Mark the required insertion depth when the manufacturer specifies it.
- Insert the PEX completely into the fitting.
- Verify that the pipe has reached the required depth.
For example, SharkBite’s installation instructions specify square cuts and correct insertion depth for its push-to-connect systems. Some PEX applications also require a tube stiffener, depending on the fitting and system.
How to Fix a Bad PEX Cut
Made a crooked or crushed cut? Don’t try to force the fitting onto it.
Instead:
- Inspect the tubing beyond the damaged area.
- Move your measurement point back if necessary.
- Cut the PEX again with a sharp cutter.
- Make sure the new cut is square.
- Check the tubing for scratches, gouges, or crushing.
- Prepare the end according to the fitting manufacturer’s instructions.
If there isn’t enough usable tubing left, replace the section or use an appropriate connection method rather than stretching the tubing to make up the difference.
Common PEX Cutting Mistakes
Cutting at an angle
The most common mistake is allowing the cutter to sit diagonally across the tubing.
Fix: Keep the blade perpendicular to the tubing.
Using a dull cutter
A dull blade can crush or deform the PEX instead of producing a clean cut.
Fix: Replace or maintain the cutter so it produces a clean cut.
Cutting through damaged tubing
A section that is already scratched, crushed, or gouged may not be suitable for a connection.
Fix: Cut back to clean, undamaged tubing.
Adding the same amount of extra tubing every time
There is no universal “add one inch” rule that replaces proper measurement.
Fix: Determine the finished length from your layout and fitting requirements.
Ignoring the fitting instructions
Crimp, clamp, expansion, press, and push-to-connect fittings don’t necessarily use the same preparation procedure.
Fix: Identify the fitting system before making the final connection.
How to Cut PEX in a Tight Space
Cutting PEX in a cabinet, crawlspace, or other confined area can be awkward.
The goal is still the same: make a square cut without crushing the tubing.
If possible, expose enough tubing to position the cutter properly. A compact PEX cutter can make the job easier when access is limited.
Don’t make a blind cut inside a wall or ceiling simply because the tubing is difficult to reach. Make sure you know what section you’re cutting and what is connected to it before proceeding.
The Bottom Line
Cutting PEX pipe is straightforward: measure it, mark it, and make a clean square cut with a sharp PEX cutter.
The bigger mistake is treating the cut as the entire job.
Before making the connection, inspect the tubing for crushing or damage and follow the preparation requirements for the fitting you’re installing. Whether you’re using a crimp, clamp, expansion, press, or push-to-connect system, the correct cut is the foundation for a proper PEX connection.
If you’re still learning the basics of PEX, start with our guide to what PEX plumbing is and then explore our guides to PEX pipe fittings and PEX vs. copper.